How To Use An External Catheter
It's Easy to Apply and Wear
Designed to Keep You Dry, Comfortable and Confident
Our male external catheter works by creating a skin-friendly but secure seal around the urinary opening. It directs urine from the body and collects it in a small pouch that fits inside your underwear.
The adhesive we use is our own proprietary medical adhesive, hydrocolloid, which is gentle to skin but securely holds the Men’s Liberty attachment safely in place.
For proper application, see our steps for applying Men’s Liberty:

How to Use Men’s Liberty | Cómo usar Men’s Liberty
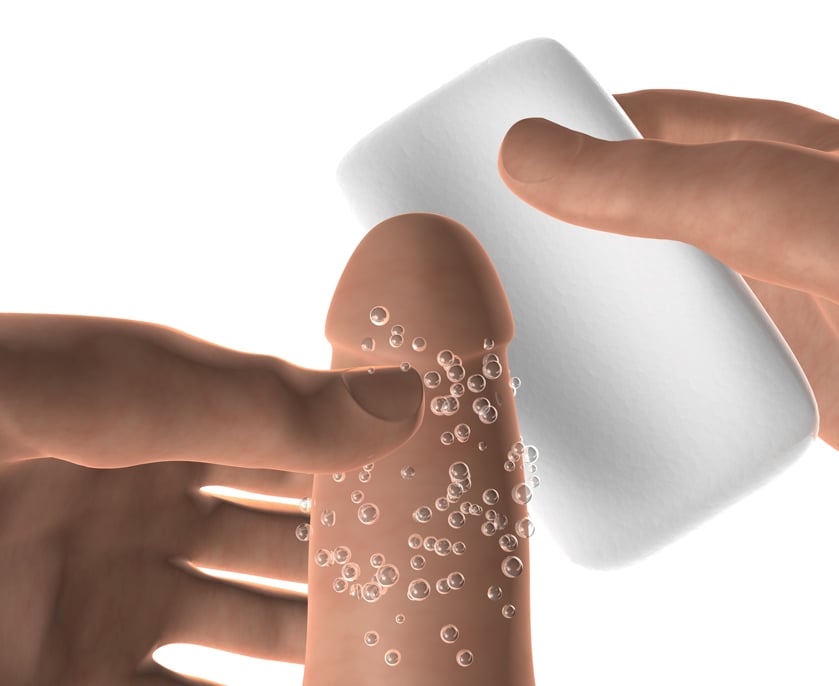
Step 1: Wash & Dry | Paso 1: Lave y seque
Gently clean and dry the application area. Keep foreskin back completely throughout application. Begin by washing the head of the penis with a non-moisturizing bar soap. Dry thoroughly with a cotton or paper towel. Make sure to dry the area thoroughly. Use the KindKlamp at this point to prevent leaking during application.
Mantenga el prepucio completamente retraido durante la aplicación. Comience lavando la cabeza del pene con un jabón no humectante. Seque completamente con un algodón o toalla de papel. Asegurese de secar el área completamente. Use la KindKlamp en este momento para evitar fugas durante la aplicación.
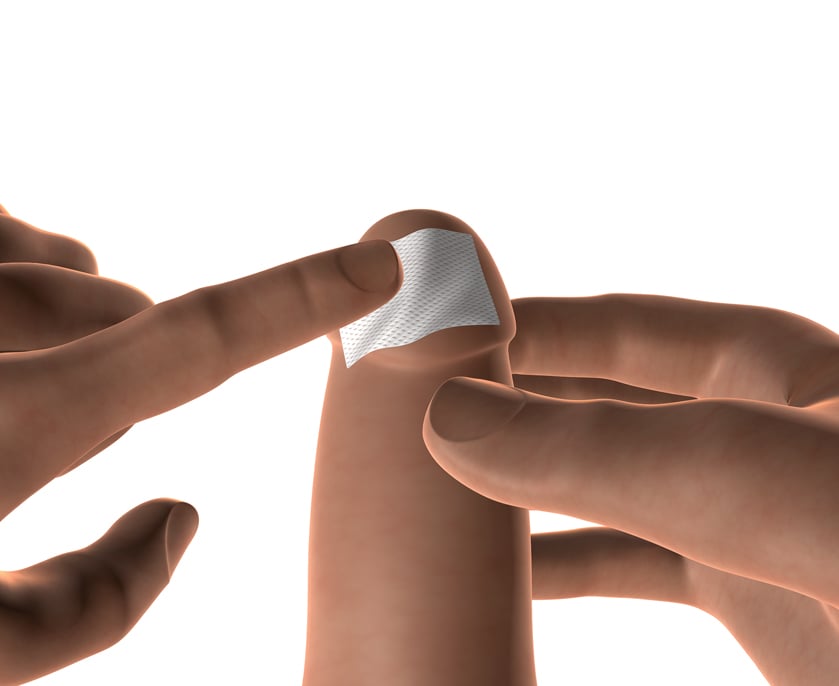
Step 2: Wipe & Dry | Paso 2: Limpie y seque
Wipe the head of the penis with BioPlus+™ wipe. Allow 30 seconds to 1 minute for the area to dry completely. Ensure the skin is dry all around and no longer tacky.
Limpie completamente la cabeza del pene con la almohadilla
BioPlus+™. Espere 30 segundos a 1 minuto para que el área
se seque completamente. Asegúrese de que la piel esté seca y no
se adhiera a su dedo..
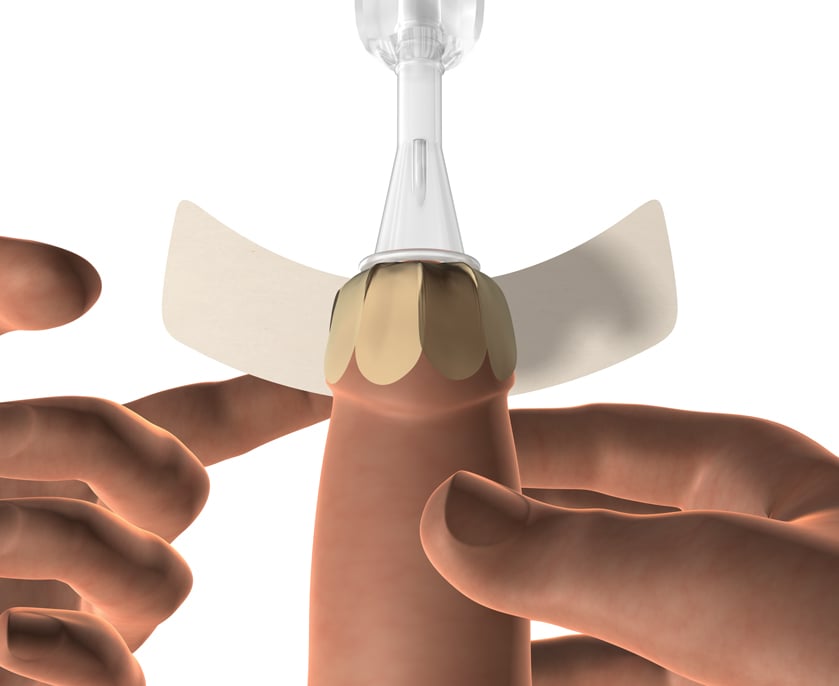
Step 3: Positioning & Application | Paso 3: Colocación y aplicación
Center device over the urinary opening.
Centre el Faceplate sobre el orificio urinario
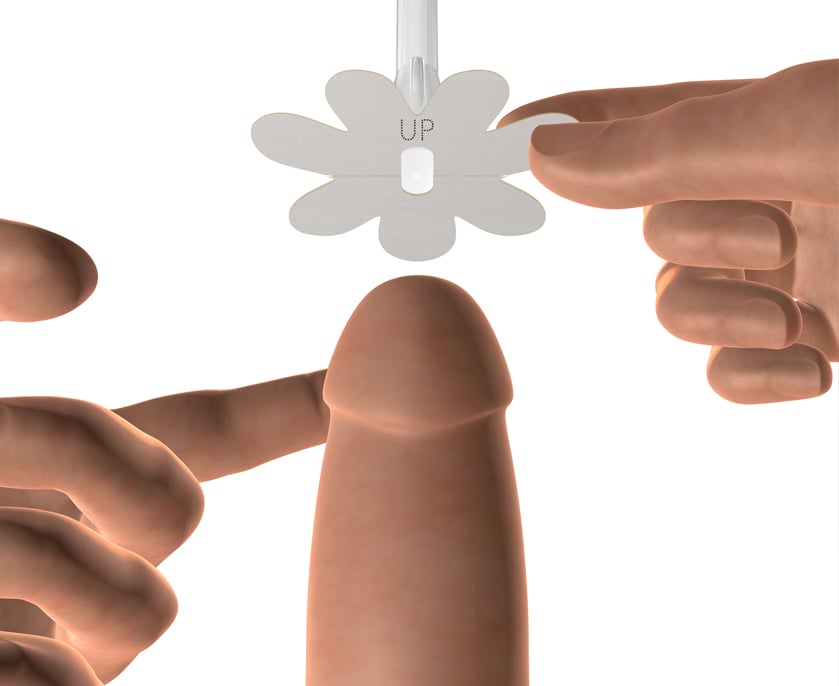
Step 4: Positioning & Application | Paso 4: Colocación y aplicación.
Keep vent facing up. Press and smooth petals.
Mantenga la ventilación apuntando hacia arriba. Presione y allane los pétalos.

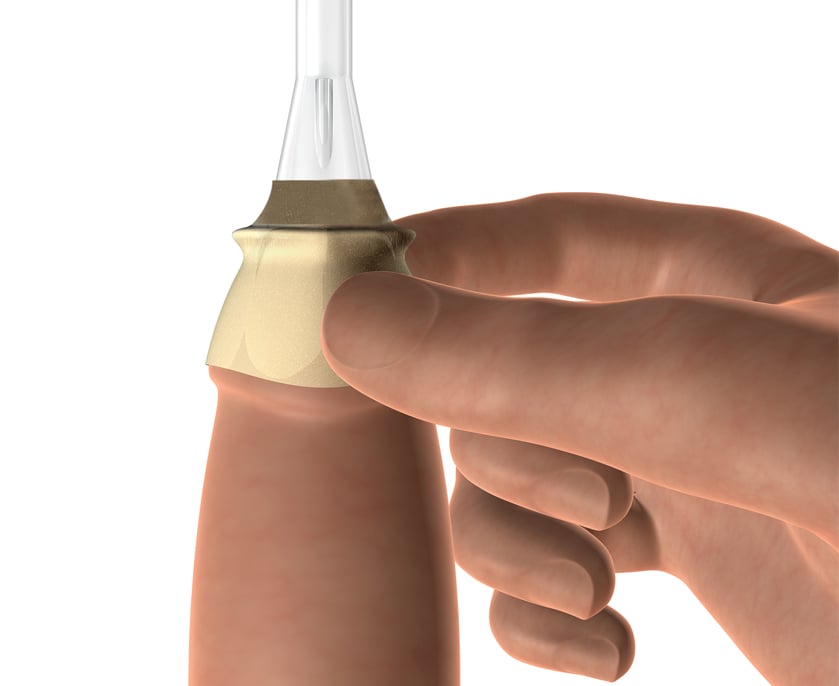
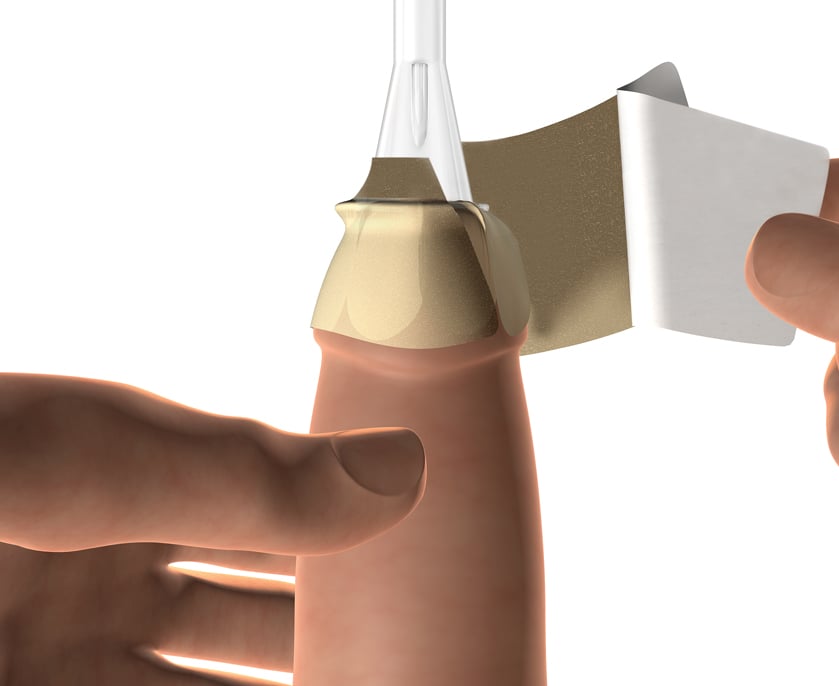
Step 5: Secure & Seal | Paso 5: Asegure y selle
Center seal under both the tube and tip of penis .
Centre el sello Faceplate en ambos el tubo y punta del pene.
Step 6: Secure & Seal | Paso 6: Asegure y selle
Faceplate Seal should cover the Faceplate petals and the base of the circular tube. Wrap the seal around each side, making sure it is flat and wrinkle free.
El sello de la placa frontal debe cubrir los pétalos de la placa frontal y la base del tubo. Asegúrese de que el material adhesivo es presionado en todas las crestas y ranuras de la piel.
Step 7: Secure & Seal | Paso 7: Asegure y selle
Press to smooth and remove wrinkles. Press and hold for 10-15 seconds to secure the seal. Allow the foreskin to fall back to its natural position.
Presione para alisar y eliminar arrugas. Presione y mantenga presionado durante 10-15 segundos para asegurar el sello.